Overview of the TH8320R1003 Thermostat
The Honeywell TH8320R1003 is a 7-day programmable touchscreen thermostat from the VisionPro 8000 series‚ featuring RedLINK technology for seamless home comfort control and system integration.

1.1 Key Features of the VisionPro 8000 Series
The VisionPro 8000 series‚ including the TH8320R1003‚ offers a 7-day programmable touchscreen interface‚ RedLINK wireless connectivity for remote control‚ and compatibility with both residential and light commercial systems. It features advanced humidity control‚ energy-saving modes‚ and a customizable display. The thermostat supports dual-fuel systems‚ multiple stages of heating and cooling‚ and integrates seamlessly with RedLINK devices. Its user-friendly design ensures easy navigation and programming‚ while the high-resolution touchscreen provides clear system status updates‚ including current mode‚ outdoor temperature‚ and humidity levels.
1.2 Compatibility with Heating and Cooling Systems
The TH8320R1003 is compatible with a wide range of heating and cooling systems‚ including conventional‚ heat pump‚ and dual-fuel configurations. It supports gas‚ oil‚ electric‚ and dual-stage systems‚ offering flexibility for various home setups. The thermostat also accommodates two-transformer systems‚ ensuring compatibility with advanced HVAC configurations. Its universal design allows seamless integration with most residential and light commercial systems‚ making it a versatile choice for different heating and cooling needs. This compatibility ensures efficient performance across diverse system types.

Installation and Setup
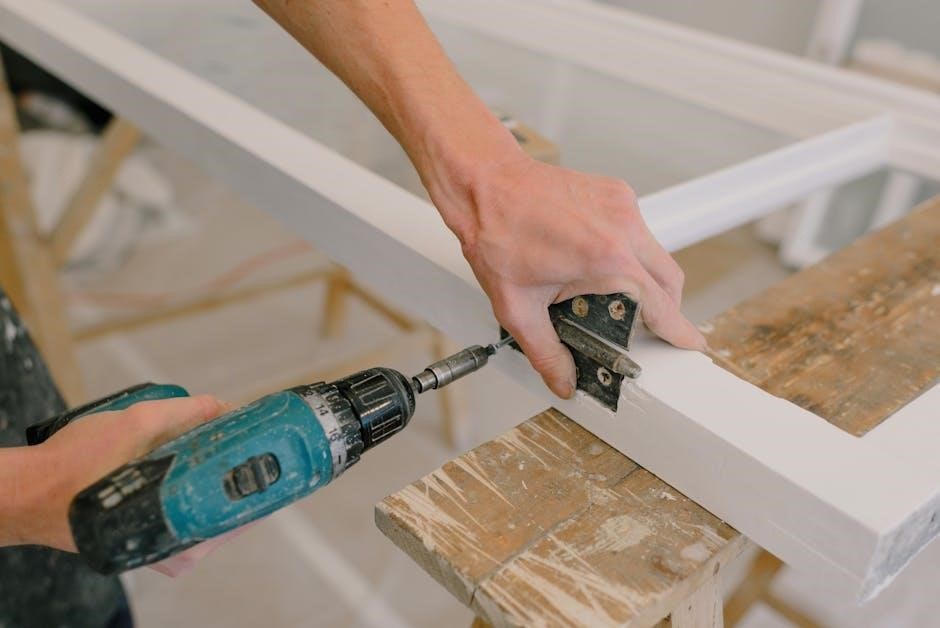
Installation involves removing the factory jumper for two-transformer systems and connecting terminals according to the system type. Follow the manual for step-by-step guidance and initial setup.

2.1 Pre-Installation Requirements
Before installing the Honeywell TH8320R1003 thermostat‚ ensure the heating and cooling systems are compatible with its terminals and configuration. Check the system type (conventional or heat pump) and verify the necessary wiring connections. Remove any existing jumpers if using a two-transformer system. Refer to the installation manual for specific requirements and guidelines to ensure a smooth setup process.
2.2 Step-by-Step Installation Process
Turn off power to the HVAC system at the circuit breaker.
Remove the old thermostat and label the wires for identification.
Mount the new thermostat base‚ ensuring it is level and secure.
Connect the wires to the corresponding terminals as per the manual.
Restore power and test the system to ensure proper operation.
Configure basic settings like temperature and scheduling.
Follow these steps carefully to ensure a successful installation.
2.3 Powering and Initial Configuration
After installing the thermostat‚ restore power to the HVAC system at the circuit breaker. The thermostat will automatically power on. Use the touchscreen interface to set basic configurations like temperature‚ system mode (heat/cool)‚ and fan operation. Set the current date and time to enable programmable features. Navigate through the menu to adjust settings according to your preferences. Review and modify default settings if necessary‚ such as temperature ranges or fan auto-operation. Ensure the thermostat is communicating correctly with the HVAC system by running a test cycle. This initial setup ensures optimal performance and prepares the thermostat for advanced programming.

Advanced Configuration Options
The TH8320R1003 offers advanced settings for installer options and RedLINK device integration‚ enabling tailored system performance and enhanced home comfort through customizable controls and smart connectivity features.
3.1 Installer Options and Settings
The TH8320R1003 provides a range of installer options‚ allowing technicians to configure system-specific settings such as heating and cooling stages‚ temperature limits‚ and fan operation. These settings ensure optimal performance and compatibility with various HVAC systems. The thermostat also features advanced parameters for humidity control and energy efficiency‚ which can be adjusted based on the homeowner’s preferences and regional climate needs. Accessing these options requires navigating the installer menu‚ typically done during initial setup or system maintenance.
3.2 RedLINK Device Integration
The TH8320R1003 supports seamless integration with RedLINK devices‚ enabling wireless communication between the thermostat and compatible Honeywell components. This technology allows for remote monitoring and control of HVAC systems through Honeywell Home apps. RedLINK ensures reliable‚ interference-free connectivity‚ enhancing system performance and user convenience. It also enables integration with wireless sensors and equipment interface modules‚ providing advanced control over temperature‚ humidity‚ and fan operations. This feature-rich integration simplifies system management and offers homeowners a centralized platform for all their comfort needs.

System Compatibility and Wiring
The TH8320R1003 is compatible with conventional HVAC systems‚ supporting standard wiring configurations. It requires proper terminal connections for heating‚ cooling‚ and fan control to ensure optimal performance.
4.1 Conventional Terminal Letters and Connections
The TH8320R1003 uses standard terminal letters for HVAC connections‚ including R (heating power)‚ W (heat stage)‚ Y (cooling stage)‚ and G (fan). Proper wiring ensures system functionality. For two-transformer systems‚ remove the factory-installed jumper to prevent short circuits. Connect terminals to the appropriate HVAC components‚ ensuring compatibility with heating‚ cooling‚ and fan systems. Correct terminal connections are critical for safe and efficient operation. Always refer to the installation manual for specific wiring diagrams and instructions.
4.2 Two-Transformer System Setup
For two-transformer systems‚ remove the factory-installed jumper to prevent electrical conflicts. Connect the R terminal to the secondary side of the heating system transformer and the C terminal to the common side of the cooling transformer. Ensure proper polarity to avoid damage. This configuration allows independent power sources for heating and cooling‚ enhancing system reliability. Always follow the installation manual for detailed wiring instructions to maintain safety and performance. Incorrect setup may lead to system malfunctions or electrical hazards.
Troubleshooting Common Issues
Common issues include display malfunctions and connectivity problems. Check power supply‚ wiring connections‚ and system configuration. Refer to the manual for detailed diagnostic steps and solutions.
5.1 Common Installation Mistakes
Common installation mistakes include improper wiring connections and failure to remove the factory-installed jumper in two-transformer systems. Ensure all terminals are correctly labeled and matched. Neglecting to power down the system before installation can cause damage or safety hazards. Additionally‚ misconfiguring RedLINK device integration or skipping steps in the initial setup process may lead to connectivity issues. Always refer to the installation manual for precise instructions and verify compatibility with existing HVAC systems to avoid these pitfalls.
5.2 Solving Connectivity Problems
To address connectivity issues with the Honeywell TH8320R1003 thermostat‚ ensure all RedLINK devices are properly paired and within range. Verify that the thermostat is correctly powered and that all wiring connections match the terminal labels. Check for firmware updates and install the latest version to maintain optimal performance. If problems persist‚ reset the system by cycling the power and re-pairing devices. Consulting the installation manual or contacting technical support can provide additional troubleshooting guidance tailored to your specific setup.

Maintenance and Support
Regularly clean the thermostat screen and ensure proper installation for optimal performance. Check for firmware updates and refer to the manual for troubleshooting. Contact Honeywell support for assistance.
6.1 Routine Maintenance Tips
Regular maintenance ensures optimal performance of your TH8320R1003 thermostat. Clean the touchscreen display with a soft cloth to prevent smudges and debris buildup. Check the system filters monthly and replace them as needed to maintain proper airflow. Ensure all wiring connections are secure and free from corrosion. Periodically review the thermostat’s settings to confirm they align with your comfort preferences. Additionally‚ update the firmware when available to access the latest features and improvements.
6.2 Accessing Technical Support
For assistance with the TH8320R1003‚ refer to the official Honeywell website or the provided installation manual. Contact Honeywell’s customer support directly via phone or email for troubleshooting or installation guidance. Additionally‚ Honeywell offers online resources‚ including FAQs and user forums‚ to address common issues. Ensure you have your thermostat’s model number and date code ready for faster support. For complex problems‚ consider reaching out to a certified Honeywell installer or HVAC professional for hands-on assistance.
The Honeywell TH8320R1003 thermostat offers a reliable and efficient solution for home comfort control. With its 7-day programmable touchscreen and RedLINK technology‚ it seamlessly integrates with various heating and cooling systems. The installation process is straightforward‚ and the availability of detailed manuals and technical support ensures ease of use. Whether for residential or light commercial applications‚ this thermostat stands out as a versatile and user-friendly option‚ making it an excellent choice for those seeking to enhance their home comfort systems.