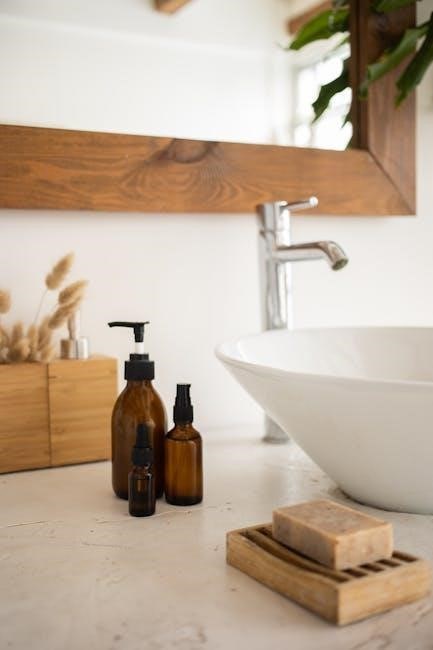
Learn to repair your Hansgrohe bathroom faucet with ease using this comprehensive guide. Discover troubleshooting tips, essential tools, and step-by-step instructions to fix leaks and restore proper function.
1.1 Importance of Regular Maintenance
Regular maintenance is crucial for extending the lifespan of your Hansgrohe bathroom faucet. It prevents leaks, reduces mineral buildup, and ensures optimal water flow. By addressing issues early, you can avoid costly repairs and keep your faucet functioning smoothly. Routine checks and cleaning also maintain hygiene and aesthetic appeal, ensuring your bathroom remains a comfortable and stylish space.
1.2 Overview of Common Repair Needs
Hansgrohe bathroom faucets often require attention for leaks, low water flow, and handle or cartridge issues. Leaks may stem from worn gaskets or O-rings, while low flow can result from a clogged aerator. Handles and cartridges may need replacement due to wear. Regular cleaning and part inspections can prevent major issues, ensuring your faucet operates efficiently and maintains its sleek appearance over time.
Understanding Hansgrohe Faucet Components
Understanding Hansgrohe faucet components is key to effective repair. Each model may have unique features, but key parts like cartridges, handles, and aerators are essential for proper function and maintenance.
2;1 Key Parts of the Faucet
The Hansgrohe faucet consists of essential components like the cartridge, handle, and aerator. The cartridge controls water flow and temperature, while the handle operates the cartridge. The aerator improves water flow quality. Additionally, features like the Boltic Lever Lock and QuickClean system enhance durability and maintenance. Understanding these parts is crucial for effective repair and ensuring optimal performance.
2.2 Identifying Model-Specific Features
Hansgrohe faucets vary by model, with unique features like pull-out sprays, touch-sensitive controls, or advanced flow systems. Some models include the Boltic Lever Lock for handle stability or the QuickClean system for easy maintenance. Understanding your faucet’s specific design ensures proper repair. Always consult your manual or contact Hansgrohe support for detailed model-specific guidance to address your faucet’s unique needs effectively.

Troubleshooting Common Issues
Troubleshooting common issues with your Hansgrohe faucet? This guide helps diagnose leaks, address low water flow, and resolve cartridge or handle problems with clear, step-by-step methods.
3.1 Diagnosing Leaks
Diagnosing leaks in your Hansgrohe faucet involves inspecting key areas like the cartridge, O-rings, and aerator. Leaks often occur due to worn-out washers or mineral buildup. Start by turning off the water supply and disassembling the faucet. Check for moisture around the cartridge and handle connections. Replace any damaged parts to ensure a proper seal and prevent further leaks. Regular maintenance can help identify issues early, saving time and water.
3.2 Addressing Low Water Flow
Low water flow in Hansgrohe faucets is often caused by a clogged aerator or mineral buildup. To resolve this, remove the aerator and soak it in vinegar to dissolve lime scale. Flush the faucet to ensure proper flow. If the issue persists, check for blockages in the cartridge or supply lines. Regular cleaning and descaling can prevent such problems and maintain optimal performance.
3.3 Resolving Handle or Cartridge Problems
Handle or cartridge issues in Hansgrohe faucets can cause leaks or improper operation. If the handle is loose, tighten the mounting screws. For cartridges, shut off water supply, disassemble the faucet, and replace the worn-out cartridge with a genuine part. Ensure proper alignment during reassembly to avoid further issues. Regular maintenance and inspections can prevent such problems, ensuring smooth operation and longevity of the faucet.
Essential Tools and Materials for Repair
Gather an adjustable wrench, screwdrivers, and replacement parts like O-rings and cartridges. Teflon tape and a bucket are also handy for a smooth repair process.
4.1 Must-Have Tools for Faucet Repair
An adjustable wrench, flathead and Phillips screwdrivers, needle-nose pliers, and a faucet wrench are essential. Teflon tape, a bucket for water collection, and replacement parts like O-rings and cartridges are also necessary. Silicone grease can prevent leaks, while a screwdriver with an extension may help reach internal components. These tools ensure a smooth and effective repair process for your Hansgrohe faucet.
4.2 Common Replacement Parts
Common parts needing replacement include cartridges, O-rings, gaskets, and aerators. Faucet handles and stems may also require attention. Ensure genuine Hansgrohe parts are used for compatibility and durability; Regularly inspecting these components can prevent leaks and maintain optimal performance. Always refer to the repair manual for specific part numbers and installation guidelines to ensure a successful repair.

Preparing the Workspace
Start by shutting off the water supply valves under the sink to prevent water flow. Place a bucket or container to catch any remaining water. Lay down a drop cloth or old towels to protect the sink and surrounding areas from damage. Clear the workspace of clutter and gather all necessary tools and materials. Apply silicone-based lubricant to protect the faucet’s finish during disassembly. Keep a small container handy to store screws and other small parts. Ensure the area is well-lit for better visibility.
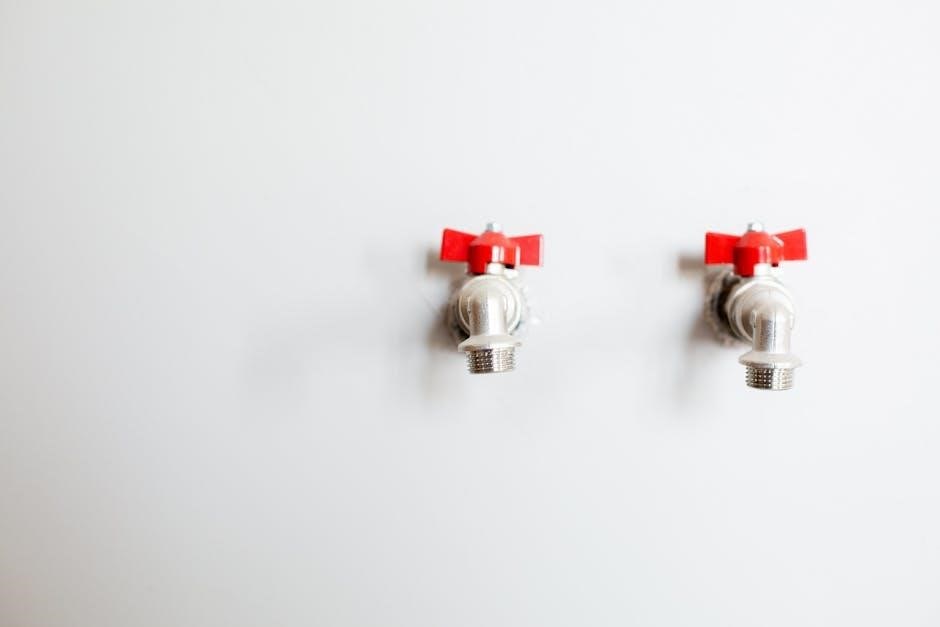
5.1 Shutting Off Water Supply
Locate the water supply valves, typically found under the sink or near the water supply lines. Turn both the hot and cold water valves clockwise until they stop. Open the faucet to drain remaining water from the pipes. Place a bucket or container to catch any residual water. Verify that the water supply is completely shut off before proceeding with repairs to avoid water spillage.
5.2 Protecting the Sink and Surroundings
Cover the sink basin and surrounding areas with a protective layer, such as a towel or plastic sheet. Remove any fragile items nearby to prevent accidental damage. Use a bucket to catch water or debris during disassembly. Apply silicone mats or trays to protect components from scratches. This step ensures a clean workspace and prevents damage to the sink and faucet parts during repair.
Disassembling the Faucet
Begin by disconnecting the water supply and removing the handle. Gently pry off any decorative caps or escutcheons to access internal components like cartridges or stems.
6.1 Removing the Handle
To remove the handle, start by shutting off the water supply. Use an Allen wrench to loosen the set screw beneath the handle. Gently pull the handle straight off. Some models may have a clip or screw holding it in place. Be careful not to damage the surrounding area. Once removed, you’ll access the stem or cartridge for further inspection or replacement. This step is crucial for diagnosing internal issues.
6.2 Accessing Internal Components
After removing the handle, use a wrench to disconnect the water supply lines from the faucet. Carefully pull the faucet upward to access the internal components. You may need to remove additional screws or clips to expose the cartridge, valve, or other parts. Use a bucket to catch any residual water. This step allows you to inspect and replace worn-out elements like O-rings or seals.

Identifying and Replacing Faulty Parts
Inspect worn parts like O-rings, seals, or cartridges. Refer to the replacement parts list and Hansgrohe manual for guidance. Replace damaged components to fix leaks or flow issues.
7.1 Replacing the Cartridge
To replace the cartridge in your Hansgrohe faucet, start by shutting off the water supply. Disassemble the handle by removing the screw or clip. Once removed, take out the cartridge by releasing any retaining rings or clips. Clean the area, then insert the new cartridge, ensuring proper alignment. Reassemble the faucet and test for leaks. This process restores proper water flow and prevents further issues. Always refer to the manual for specific guidance.
7.2 Fixing or Replacing the Aerator
The aerator, located at the faucet’s spout end, can become clogged with mineral buildup, reducing water flow. To fix or replace it, remove the aerator by unscrewing it. Soak it in vinegar to dissolve mineral deposits. If damaged, replace it with a new one. Reattach securely and test the water flow. A clean or new aerator ensures optimal performance and prevents low flow issues.

Reassembling the Faucet
Reattach all internal components securely, ensuring proper alignment and tightening. Reinstall the handle, making sure it fits snugly. Test the faucet to confirm smooth operation and no leaks.
8.1 Reinstalling Internal Components
Begin by carefully reinstalling the internal components, ensuring they are properly aligned and securely fastened. Check for any signs of wear or damage. Clean and lubricate parts if necessary. Reattach the cartridge, ensuring it clicks into place correctly. Make sure all connections are tight to prevent leaks. Finally, test the faucet to ensure smooth operation and proper water flow.
8;2 Reattaching the Handle
After reinstalling internal components, align the handle with its mounting bracket. Secure it using the provided screws or clips, ensuring a snug fit. Tighten firmly but avoid over-tightening, which may damage the faucet. Double-check the handle’s proper alignment and function. Refer to your manual for model-specific instructions. Finally, test the handle to ensure smooth operation and proper water control.

Testing the Faucet Post-Repair
Turn on the water supply and check for leaks at all connections. Test the handle to ensure smooth operation and proper water flow. Refer to your manual for specific guidance.
9.1 Checking for Leaks
After completing the repair, turn on the water supply and inspect all connections for leaks. Visually check the faucet handle, cartridge, and drain mechanism for any water droplets. Use a dry cloth to wipe away moisture and ensure no leaks reappear. Run water through the faucet to verify proper function and seal integrity. If any leaks persist, consult your repair manual for additional guidance.
9.2 Ensuring Proper Water Flow
After completing the repair, ensure the water flows smoothly and at full pressure. Check the aerator for mineral buildup and clean it if necessary. Verify that the cartridge and handle are properly aligned and functioning. If water flow remains low, inspect for internal blockages or consider replacing the aerator for optimal performance. Proper water flow ensures your faucet operates efficiently.

Maintenance Tips for Longevity
Regularly clean the faucet with a soft cloth to prevent mineral buildup. Check for worn-out parts and replace them promptly to avoid leaks. Ensure proper water flow by maintaining the aerator and cartridge. Descaling and inspecting O-rings can extend the faucet’s lifespan and maintain optimal performance over time.
10.1 Cleaning the Faucet
Regular cleaning is essential to maintain your Hansgrohe faucet’s appearance and functionality. Use a soft, lint-free cloth and mild soap solution to wipe down surfaces. Avoid harsh chemicals or abrasive materials that could damage finishes. For mineral buildup, soak a cloth in vinegar and apply it to the affected area, then rinse thoroughly. This prevents corrosion and ensures a polished look over time.
10.2 Preventing Mineral Buildup
Prevent mineral buildup on your Hansgrohe faucet by regularly cleaning with a mild soap solution and drying thoroughly after use. For stubborn spots, soak a cloth in vinegar and apply it to the area. Consider installing a water filter to reduce mineral content. Additionally, apply a protective product designed to inhibit mineral deposits, ensuring your faucet remains pristine and functional over time.
Resources and Support
Access detailed repair manuals, troubleshooting guides, and customer support from Hansgrohe to ensure a successful repair experience for your bathroom faucet.
11.1 Accessing the Hansgrohe Repair Manual
To access the Hansgrohe repair manual, visit the official website and search for your specific faucet model. Download the PDF guide, which includes step-by-step instructions, diagrams, and parts lists to help you identify and resolve issues effectively. This resource ensures you have all the necessary information to perform repairs confidently and efficiently at home.
11.2 Contacting Customer Support
For assistance with your Hansgrohe faucet repair, contact customer support via phone, email, or live chat through their official website. Representatives are available to provide troubleshooting guidance, order replacement parts, and address any questions or concerns. Ensure to have your faucet model number ready for faster service. Their team is committed to helping you resolve issues efficiently and effectively.
With these steps, you’re empowered to repair your Hansgrohe faucet confidently. Regular maintenance ensures longevity, while quick fixes prevent major issues. DIY success awaits!
12.1 Final Tips for Successful Repair
Regular maintenance is key to extending faucet life. Clean aerators to prevent mineral buildup and ensure smooth water flow. Always use genuine Hansgrohe parts for durability. After repairs, test the faucet thoroughly to confirm proper function. For complex issues, consult the manual or contact customer support. DIY repairs save money and empower you to maintain your bathroom fixtures with confidence and ease.