This manual provides a comprehensive guide for installing the TH6000R1003 thermostat, ensuring proper setup and operation. It covers key steps, safety precautions, and troubleshooting tips for a successful installation.
Overview of the Thermostat System
The TH6000R1003 thermostat system is a programmable device designed to regulate heating and cooling systems efficiently. It features a backlit wireless remote controller, enabling easy operation from a distance. The system supports both manual and automatic changeover modes, allowing users to switch between heating, cooling, and off states. Compatible with ductless systems, heat pumps, and air conditioning units, it ensures precise temperature control. The thermostat also includes programmable functions for customized scheduling, enhancing energy efficiency and user convenience. Proper installation and configuration are essential for optimal performance.
Importance of Proper Installation
Proper installation of the TH6000R1003 thermostat is crucial for ensuring reliable performance, energy efficiency, and system longevity. Incorrect wiring or setup can lead to malfunctions, increased energy consumption, or even system damage. Following the installation manual closely helps avoid potential safety hazards and ensures compliance with manufacturer guidelines. A well-installed system also maintains optimal temperature control, reducing wear and tear on heating and cooling units. Adhering to the recommended procedures guarantees a smooth operation and maximizes the thermostat’s advanced features, providing long-term comfort and efficiency for users.
Pre-Installation Requirements
Before installing the TH6000R1003, verify system compatibility, gather required tools, and ensure power is switched off. Prepare all materials to ensure a smooth process.
System Compatibility Check
Ensure the TH6000R1003 is compatible with your HVAC system. Verify the system operates on 24V AC and supports the thermostat’s features. Check existing wiring for proper connections and ensure a suitable transformer is installed. Refer to the manual for specific compatibility requirements. If unsure, consult the manufacturer or a professional to avoid installation issues. Proper compatibility ensures efficient system performance and safety.
Tools and Materials Needed
To install the TH6000R1003 thermostat, gather the following tools and materials: a screwdriver, wire strippers, pliers, and a voltage tester. Ensure you have compatible wires, mounting screws, and a battery for the remote controller (if applicable). Verify the system transformer is properly installed and meets the thermostat’s requirements. Use the provided wall plate and mounting hardware for secure installation. Refer to the manual for specific wiring diagrams and additional materials needed for your setup. Proper preparation ensures a smooth and efficient installation process.

Installation Process
The installation process involves disconnecting old thermostat wires, mounting the new unit, connecting wires as per instructions, and ensuring all connections are secure before testing.
Step-by-Step Wiring Instructions
Begin by turning off the power supply to the HVAC system. Locate the thermostat wires and label them according to their terminals (R, W, Y, G, C, etc;). Carefully disconnect the old wires from the existing thermostat. Mount the new thermostat base and connect the wires to the corresponding terminals, ensuring secure connections. Refer to the wiring diagram for specific configurations. After wiring, restore power and test the system to ensure proper functionality. Always verify connections to avoid damage or malfunctions.
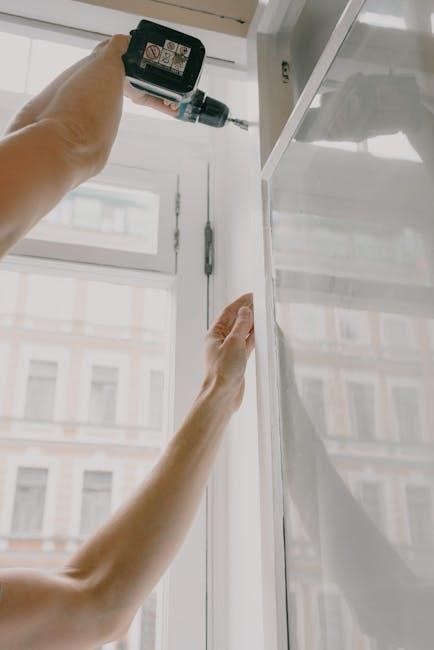
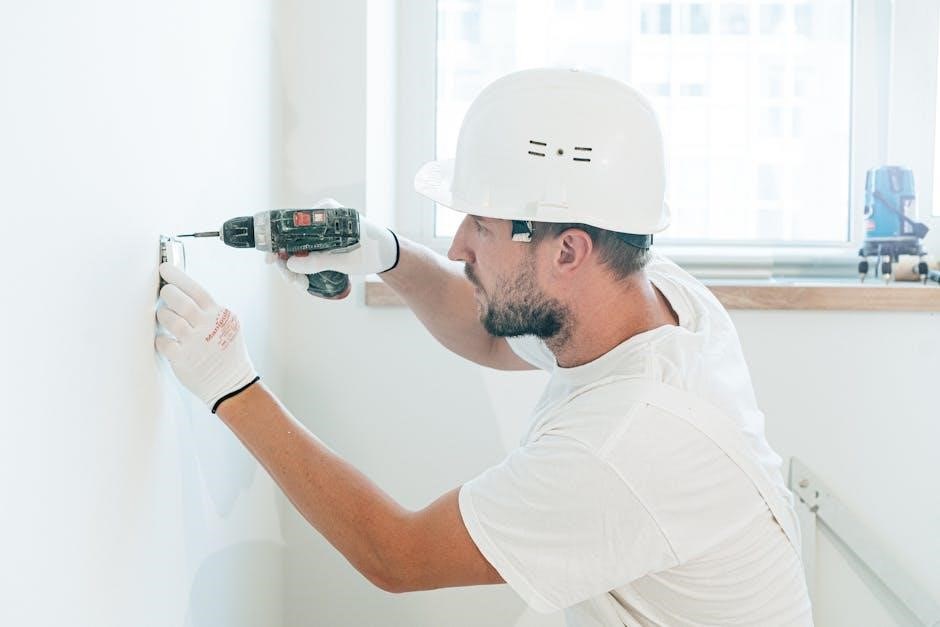
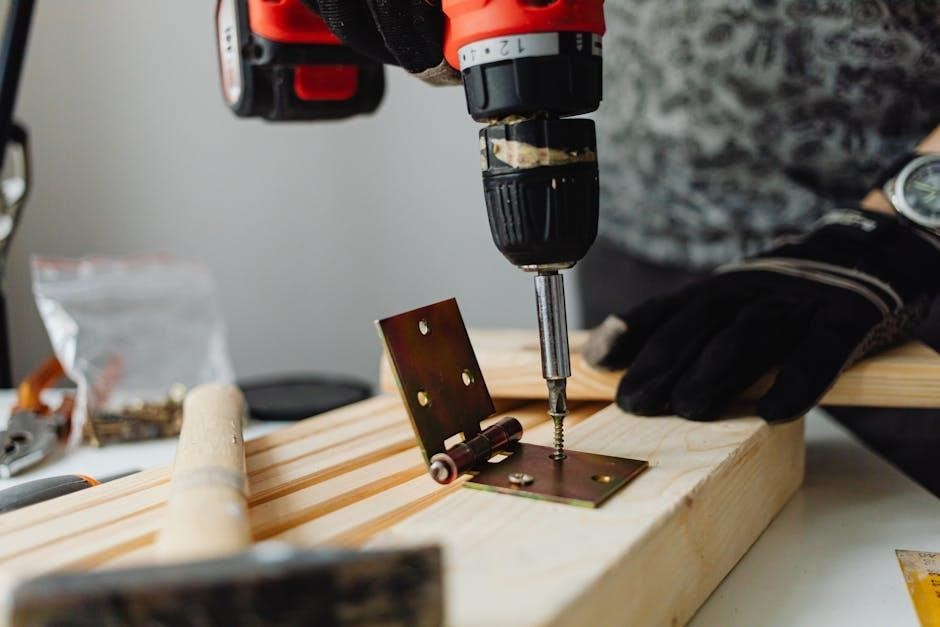
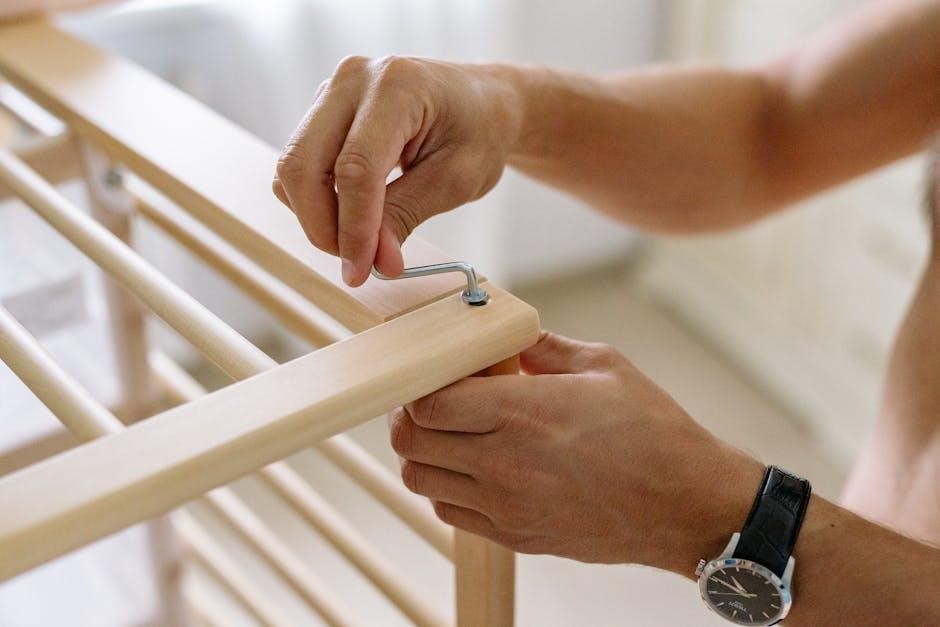
Mounting the Thermostat Unit
Begin by selecting a suitable location for the thermostat, ensuring it is level and away from direct sunlight or drafts. Remove the old thermostat and any mounting hardware. Use the provided mounting bracket to secure the base to the wall, ensuring alignment. Gently attach the thermostat unit to the bracket, making sure it clicks securely into place. Install the batteries according to the manufacturer’s instructions. Double-check the unit’s stability and alignment before proceeding to wiring or configuration. Proper mounting ensures accurate temperature readings and smooth operation.
Connecting the Remote Controller
Ensure the remote controller is compatible with your TH6000R1003 thermostat. Follow the manufacturer’s wiring diagram to connect the remote controller to the thermostat unit. Use the appropriate wires to link the remote’s terminals to the thermostat’s corresponding ports. Securely attach the remote controller to the wall or place it in a convenient location. Sync the remote with the thermostat by pressing and holding the pairing button until the LED confirms the connection. Test the remote to ensure all functions operate smoothly. Proper installation ensures seamless control over your heating and cooling system.
Configuration and Setup
This section guides you through configuring and setting up your TH6000R1003 thermostat, ensuring all features are properly initialized for optimal performance.
Programming the Thermostat
Programming the TH6000R1003 thermostat allows you to set custom temperature schedules, optimizing comfort and energy efficiency. Use the remote controller to navigate the menu, selecting desired modes (Heat, Cool, Auto, or Off). Set temperature ranges for different times of the day, ensuring consistent comfort. The thermostat supports manual and automatic changeover, enabling seamless transitions between heating and cooling. Refer to the manual for step-by-step instructions on programming schedules and adjusting settings to suit your preferences.
Setting Up the Remote Control
Setting up the remote control for the TH6000R1003 thermostat enhances convenience and accessibility. Begin by inserting the batteries into the remote controller, ensuring proper alignment. Sync the remote with the thermostat by following the pairing instructions in the manual. Test the remote’s functionality by adjusting temperature settings and verifying response. Mount the remote in a central location for easy access. Use the remote to switch between modes, adjust schedules, and monitor system status. This feature ensures seamless control over your heating and cooling system from any room.
Operation Modes
The TH6000R1003 thermostat operates in Heat, Cool, and Off modes, offering manual or auto changeover for efficient temperature control. These modes ensure optimal comfort and energy savings.
Manual vs. Auto Changeover
The TH6000R1003 thermostat offers two changeover options: Manual and Auto. In Manual mode, the user must switch between Heat, Cool, or Off modes. Auto mode automatically transitions based on the set temperature, optimizing efficiency. Manual is ideal for consistent settings, while Auto adapts to changing conditions, offering convenience and energy savings. Selecting the right mode depends on your comfort preferences and seasonal needs. Proper configuration ensures smooth operation and maintains desired indoor conditions efficiently. This feature enhances flexibility and performance for optimal climate control.
Heat, Cool, and Off Modes
The TH6000R1003 thermostat operates in three primary modes: Heat, Cool, and Off. Heat mode activates the heating system to maintain the set temperature, while Cool mode engages the cooling system. Off mode disables both heating and cooling, allowing for energy conservation. These modes can be manually selected or automated through the thermostat’s programming. Heat and Cool modes ensure comfort, while Off mode helps reduce energy consumption. Proper use of these modes optimizes system performance and energy efficiency, providing flexibility for various environmental conditions and user preferences. Regular maintenance ensures seamless operation across all modes. Always refer to the manual for specific settings.
Troubleshooting Common Issues
This section addresses frequent problems during installation, such as wiring errors or connectivity issues. It provides solutions and diagnostic steps to ensure smooth system operation. Refer to the manual for detailed fixes.
Diagnosing Installation Problems
Common issues during TH6000R1003 installation include wiring errors, sensor malfunctions, or connectivity problems. Check all connections for tightness and ensure proper wiring according to the diagram. Verify transformer connections and thermostat battery installation. If the system fails to power on, inspect the circuit breaker or fuse. For temperature inaccuracies, clean the sensor or adjust its placement. Refer to the troubleshooting section for detailed diagnostic steps and solutions to resolve installation-related problems effectively.
Resolving Connectivity Issues
Connectivity problems with the TH6000R1003 often arise from improper wiring or weak signal strength. Ensure the remote controller is paired correctly and within range. Check for interference from other devices. Verify battery levels in both the thermostat and remote. Restart the system by disconnecting power for 30 seconds. If issues persist, consult the manual for reset procedures or contact support. Regularly updating firmware can also resolve connectivity problems and improve overall system performance.

Maintenance and Care
Regular maintenance ensures optimal performance of the TH6000R1003. Clean the thermostat screen and sensors gently. Replace batteries annually. Check wiring for wear and update firmware periodically.
Cleaning the Thermostat
Cleaning the Thermostat
To maintain optimal performance, clean the TH6000R1003 thermostat regularly. Power off the device before cleaning. Use a soft, dry cloth to wipe the screen and exterior. Avoid harsh chemicals or liquids, as they may damage the unit. Gently clean the sensors with a compressed air canister to remove dust. Regular cleaning prevents malfunction and ensures accurate temperature readings. For stubborn stains, dampen the cloth slightly but avoid moisture ingress. Clean the remote controller similarly to maintain responsiveness and functionality.
Battery Replacement
To replace the batteries in your TH6000R1003 thermostat, first power off the device. Open the battery compartment located on the rear or front panel, depending on the model. Remove the old batteries and insert new ones, ensuring the correct polarity. Use high-quality alkaline batteries for optimal performance. Avoid mixing old and new batteries or using rechargeable types. Close the compartment securely and test the thermostat to confirm proper function. Replace batteries annually or when the low-battery indicator appears. This ensures consistent operation and prevents unexpected shutdowns.

References and Further Reading
Refer to the manufacturer’s guidelines for detailed specifications. Additional resources, including user manuals and technical documents, are available online for further assistance and troubleshooting.
Manufacturer Guidelines
Always follow the manufacturer’s official instructions for the TH6000R1003 thermostat; Refer to the provided installation manual for specific details on wiring, mounting, and configuration. Ensure compliance with safety standards and recommendations; For additional support, visit the manufacturer’s website or consult their customer service; Proper adherence to these guidelines ensures optimal performance and longevity of the thermostat. Additional resources, such as technical bulletins and product specifications, are available for download in PDF format.
Additional Resources
For further assistance, explore the manufacturer’s official website for downloadable guides, such as the TH6000R1003 installation manual and technical bulletins. These resources provide detailed troubleshooting tips and advanced configuration options. Additionally, online forums and support communities offer user-shared insights and solutions. Ensure to reference only authorized materials to maintain system compatibility and performance. Visit the Mitsubishi Electric support page for updated PDF manuals and installation guides tailored to your product.